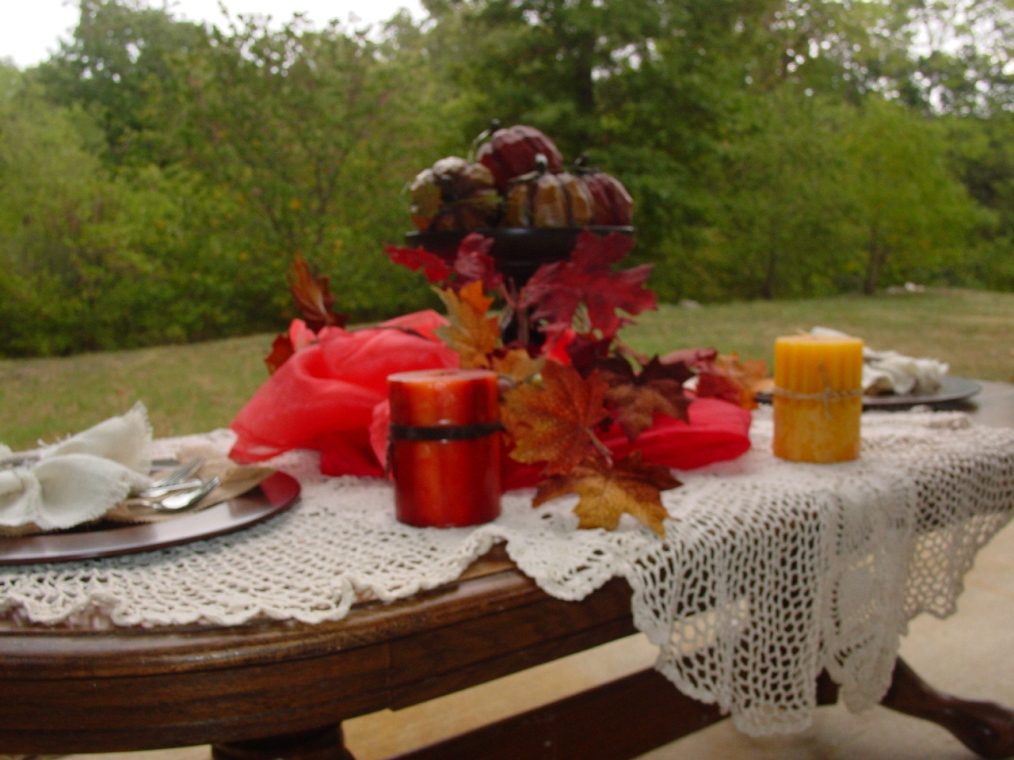
If you are anal a planner like I am, chances are you’ve already started Christmas shopping thinking about the fall holidays. A welcome chill in the air this week prompted a trip to the storage closet to inventory fall decor. I came across these adorable wooden pumpkins I purchased a couple of years ago, and my ADD kicked me right past Halloween into Thanksgiving.
I love Thanksgiving, but it is one of those holidays that I just can’t depend upon. When my dad was alive and my parents lived on the farm, we knew where we would be at Thanksgiving. It often coincided with deer and quail hunting season, and both my brothers and their families joined Saint, me, and our two kids for a big family gathering at the folks’. But for the last sixteen years, as Dad passed away and Mom moved from the farm to a small apartment in the city, kids married and had kids of their own, and in-laws multiplied, our traditions have been hijacked and we sometimes find ourselves wondering how we will celebrate Thanksgiving. Sometimes it’s a Norman Rockwell. Occasionally, it’s a Walton Family celebration, but, occasionally, it is just a handful. No matter, I am determined to give Thanksgiving its due, even if it means this lovely outdoor dinner for two, complete with a smoked wild turkey from Redbud Ridge.
Worthy of a festive table setting, wouldn’t you think? Uh-huh, I did make it back around to the DIY project!
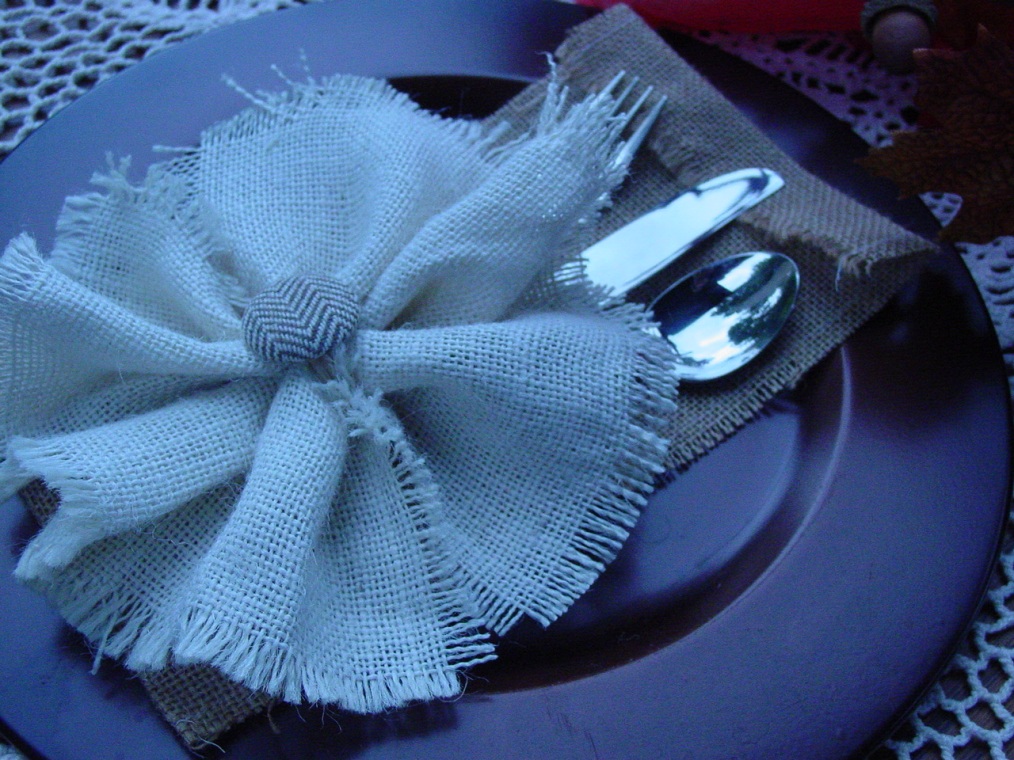
Doesn’t this little tableware pocket scream vintage Thanksgiving? For this project you will need:
Natural burlap
Bleached white burlap
A button or brooch
Rubber bands
Scissors
Either a sewing machine or fabric glue.
Directions:
For each pocket, you will need a 15×5 1/2 rectangle of natural burlap. Fold up approximately 5 inches from the bottom to make the pocket. Then run a stitch down both sides. If you want a no-sew project, you can use fabric glue and just glue the sides of the pocket. I ran the seam all the way down each side rather than just along the pocket edge to keep the burlap from fraying too much. Next, fold down about an inch at the top and fray the edges. Press the seam to make the “flap” at the top. This is purely decorative. You could add vintage lace, ric-rac, or anything you like. I chose to leave it plain.
Now, cut a piece of the bleached burlap about 5″x9″. Fray all the edges a bit and gather it in the center like a fan. Cut a rubber band and run one end through the hole (or holes) on the button. Tie the rubber band back together and wrap it around the center of the fabric to secure it. Fan out the ends and tack them together with a needle and thread or fabric glue. Attach the fan to the pocket using your needle or more fabric glue. Tuck in your silverware, and there you have it.
Cute as a button, don’t you think?


