I miss hearing those words! The work Extreme Makeovers did in Joplin, MO was just short of miraculous. I wish I had something that awesome and helpful to post, but actually, I do have the results of our little camping trailer makeover to share with you…nothing extreme, for sure, but cute as a button, nevertheless. I’ve already shared the painting of the cabinets which lightened up the area considerably, so today,
let me begin with the window treatments. Here are the before pictures:
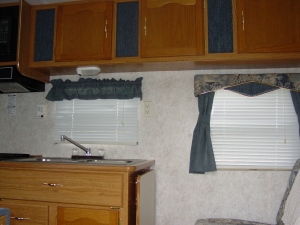
The heavy lambrequins have been replaced. In keeping with the coastal tones that I had hoped for, I chose to mix natural and bleached burlap with a blue and white ticking striped fabric. At first, I tried to create the “poufs” I wanted by bunching and tying. That was ok, but not the look I wanted. I remembered the plastic “create a valance” frames I had picked up at a garage sale 3 for a dollar, and yes, I actually found them without any too much trouble. I used the hot glue gun to tack the poufs in place. I made these fabric flowers as accent pieces. I found these cuties here I didn’t follow the tutorial, just made my own by ruffling some with needle and thread and tacking together, and others by ruffling and attaching with hot glue. Either way worked just fine.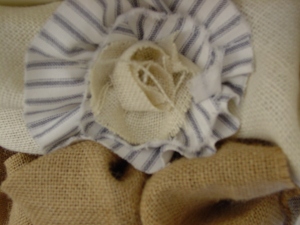
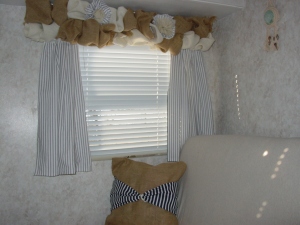
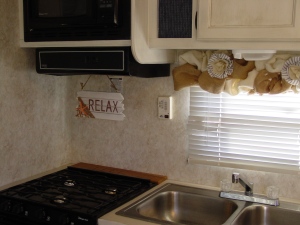
I added panels of the striped fabric to the window beside the sofa, but not to the window over the sink.
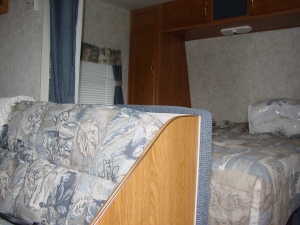
Remember what the sofa looked like before? Lots of country blue print fabric. I thought this would be my biggest challenge because I wasn’t sure how to remove or reupholster it. Well, nothing says coastal like slip covers, and I had another brilliant idea. I tried a queen sized fitted sheet. It was too big. I tried a full sized fitted sheet. Still too big. I have no twin beds, but I borrowed a single fitted sheet from my bff, and voila! Just right. A stretchy T shirt sheet set from WalMart for about $15.00 worked perfectly.
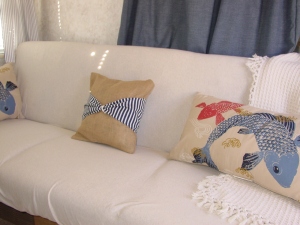 I picked up the large pillows at Target on clearance, but I didn’t find the nautical covers I was looking for. Sewing (yes, I said the word) a pillow cover out of leftover burlap was not too difficult. I stuffed it with an old pillow I had, and sewed in a strip of navy and white striped fabric, tied it together with nautical rope, painted a wooden anchor cutout navy blue, and there you have it. Today I purchased navy fabric to make additional cushions later.
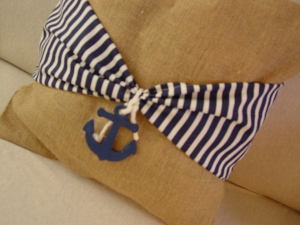
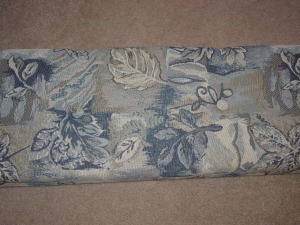
The booth cushions were covered with the same print. Saint helped me cover them with the navy striped fabric (also picked up in the pillow above) and keep them intact by duct taping; a trick learned years ago from Christopher Lowell on HGTV.
 </a
</a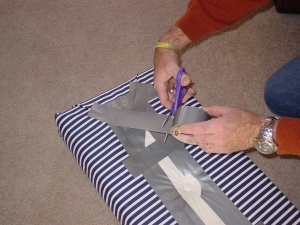
And here it is. 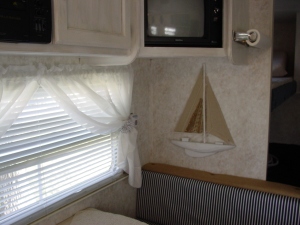
We covered the blue trim around the booth, under the sofa, above the door with burlap. I repurposed some white sheers and made tie backs with the blue ticking fabric. The ship in the background was one of the few purchases I made for this project.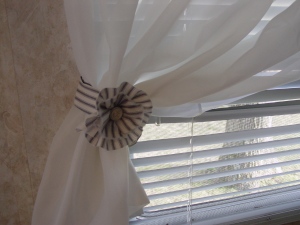
Here is the before picture of the bedroom.
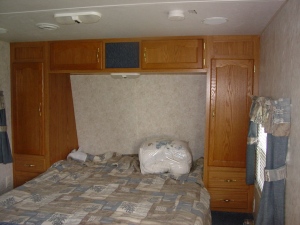 and after.
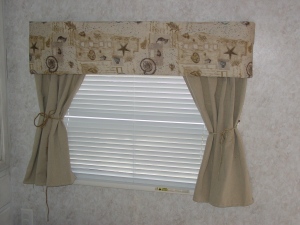
I’m not too wild about how these window treatments turned out, but the good thing is they untie to block out all the light. I like a dark room for sleeping. Here, I reused the banner from a baby shower above the bed. I’m still looking for a new comforter and shams, but this one is still okay for now.
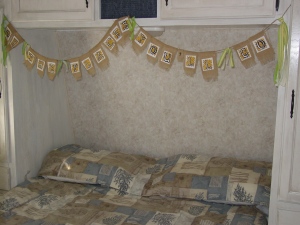
I’ll take more pictures when we get this girl on the road, but right now, I kind of like the way she turned out. I think this is still my favorite part.
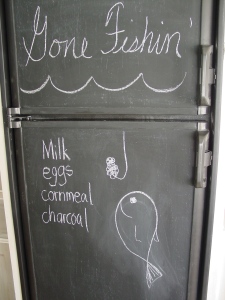
The chalkboard paint on the old fridge. Can’t wait to say, “Move that trailer!”
- Comment
- Reblog
-
Subscribe
Subscribed
Already have a WordPress.com account? Log in now.
What a fUn project to take on!
I could have a wHOLe lotta fun doing that!
Catherine
Yes, Catherine, after looking at your projects, I’m sure you could!